Showing posts with label Sewing. Show all posts

Friday, April 22, 2011

Tennant Trailer Renovation!

Okay, so, our tennants bought a home and moved out the end of January, 2011. I got busy right away. I wish I had gotten more before pics but this will have to do. At this point I am finishing up the hallway, the master bathroom closet, the master bedroom closet, and the small bedroom. Here is the progress so far, many many hours later...
Here we can enjoy the lovely trailer wallboard in the kitchen along with at least 3 different colors of paint on walls in the kitchen and dining area. YUCK! Also a lovely piece of hard, cloudy, non-see through plastic on one window for privacy, a rusty, sticker ladden fridge, drywall that needed patching, and a bay window in the dining area that needed the old drywall taken off, 2x4's replaced in the wall under the window and new drywall put up.


Now, I scraped, sanded, and spray painted the fridge an ivory, I used a tan(looks like dark coffee with cream) on the bottom walls in the kitchen and all the walls in the dining area, a creamy ivory on the top in the kitchen and around the bay window in the dining area, and a purple/burgandy paint for the trim boards(which were given to me a year ago and I wasn't sure what I was going to do with them!). I bought ONE curtain(it contained 2 panels and a valance), and I made my curtains to fit the windows in the kitchen and dining area --- I really was going for a homey/coffee house feel. I had to sand and paint the fan vent sheild over the stove as once upon a time I think it was just stainless steel but it was mostly rust color when I saw it. I also replaced the hard nasty plastic atop the window with my good standby---limosine window cover(about $12 at an auto parts store and I have enough to do at least 4 or more lower windows in the trailer for privacy) As you can see in the second pic down - you can see the dog fence and everything outside, but you can't see in -in the day and at night anyone outside can only see shadowy type images when lights are on inside.


I also added an oak board under the window shelf as there a sad piece of thin damaged board under before I tore off all the wall under the window and replaced inside framing under the window. I also put new wood base inside the middle window for the inside sill(as I did for the living room and need to for the kitchen and bedrooms-not done yet) and I only had to paint the other two inside sill parts for a clean crisp look.


So, here is a small look at the hallway(which does not show the parts that had holes to be redrywalled) and the lovely bathroom with that lovely trailer wallboard, a curtain that didn't fit or cordinate, and a shower curtain that was of a different pattern altogether. The medicine cabinet was rusty, so I sanded and painted that too! I still have to hang the towel bar and split and sew the window curtain - again, I bought ONE curtain that had 2 panels and a valance - I used the valance for over the shower curtain and am making my curtain to fit the window. I tried to cordinate my color scheme with something that would compliment the floor tiles.


Okay, the hallway - from the end by the bathroom and washer/dryer area it is the tan from the dining room/kitchen - the hall to the bedrooms is the creamy ivory from the kitchen. I had to replace some of the corner molding and almost all of the bottom floorboard molding(which I made myself by cutting thin pieces of wood to width and length to compliment the best I could with what was there) Oops - I still have to clean the light covers and put them back on but I am still working on the floor in the hallway. I also made a really cool coat rack as there is not really a place to put coats.


Okay, now.........the master bedroom and master bath - okay - wow, there is that lovely tailer wallboard again in both rooms and an access panel of just plain greenboard! After Accessing the rooms I decided that the floors were really the only thing I couldn't change - sooooo, I planned the color schemes around those! Don't you love that peach counter in the bathroom too?!? NOT!
As you can see - I chose a foamy type sea green, a fancy boarder, and green sheer curtains for the master bedroom(I still have things on the floor since I am currently working in the closets for both rooms).


Now, for the master bath ---- I had black/white marble floor tiles I needed to cordinate around - soooooo, I painted the peach counter black, all the outlet covers, soap dish, etc. black, the handles, hinges, and edging on the cabinets black to make them pop!, again I bought ONE curtain that had 2 panels and a valance and used the valance to go over the other new shower curtain I bought, I used more of the molding to go around the room as I painted the walls all white but then sponged black on the lower half to pull it all together.


This is turning out so great. The old tennants have had to come get jugs of water still to date and LOVE what I have done. I still have to tar some of the roof, tar over the bay window, finish the floor in the hall, finish the two closets in the master bed/bath, and change the front door - whew! I will be glad when this project is done, But it is well worth all the time I have in it and with being creative and using what I have for much of it and buying on-sale curtains and making them to fit(much cheaper than buying curtains made for the trailer windows and shower valances) I ended up spending about $200 on paint, curtains, boarder and such.- we are hoping to have it rented for May!



Wednesday, October 6, 2010

Shopping Bag


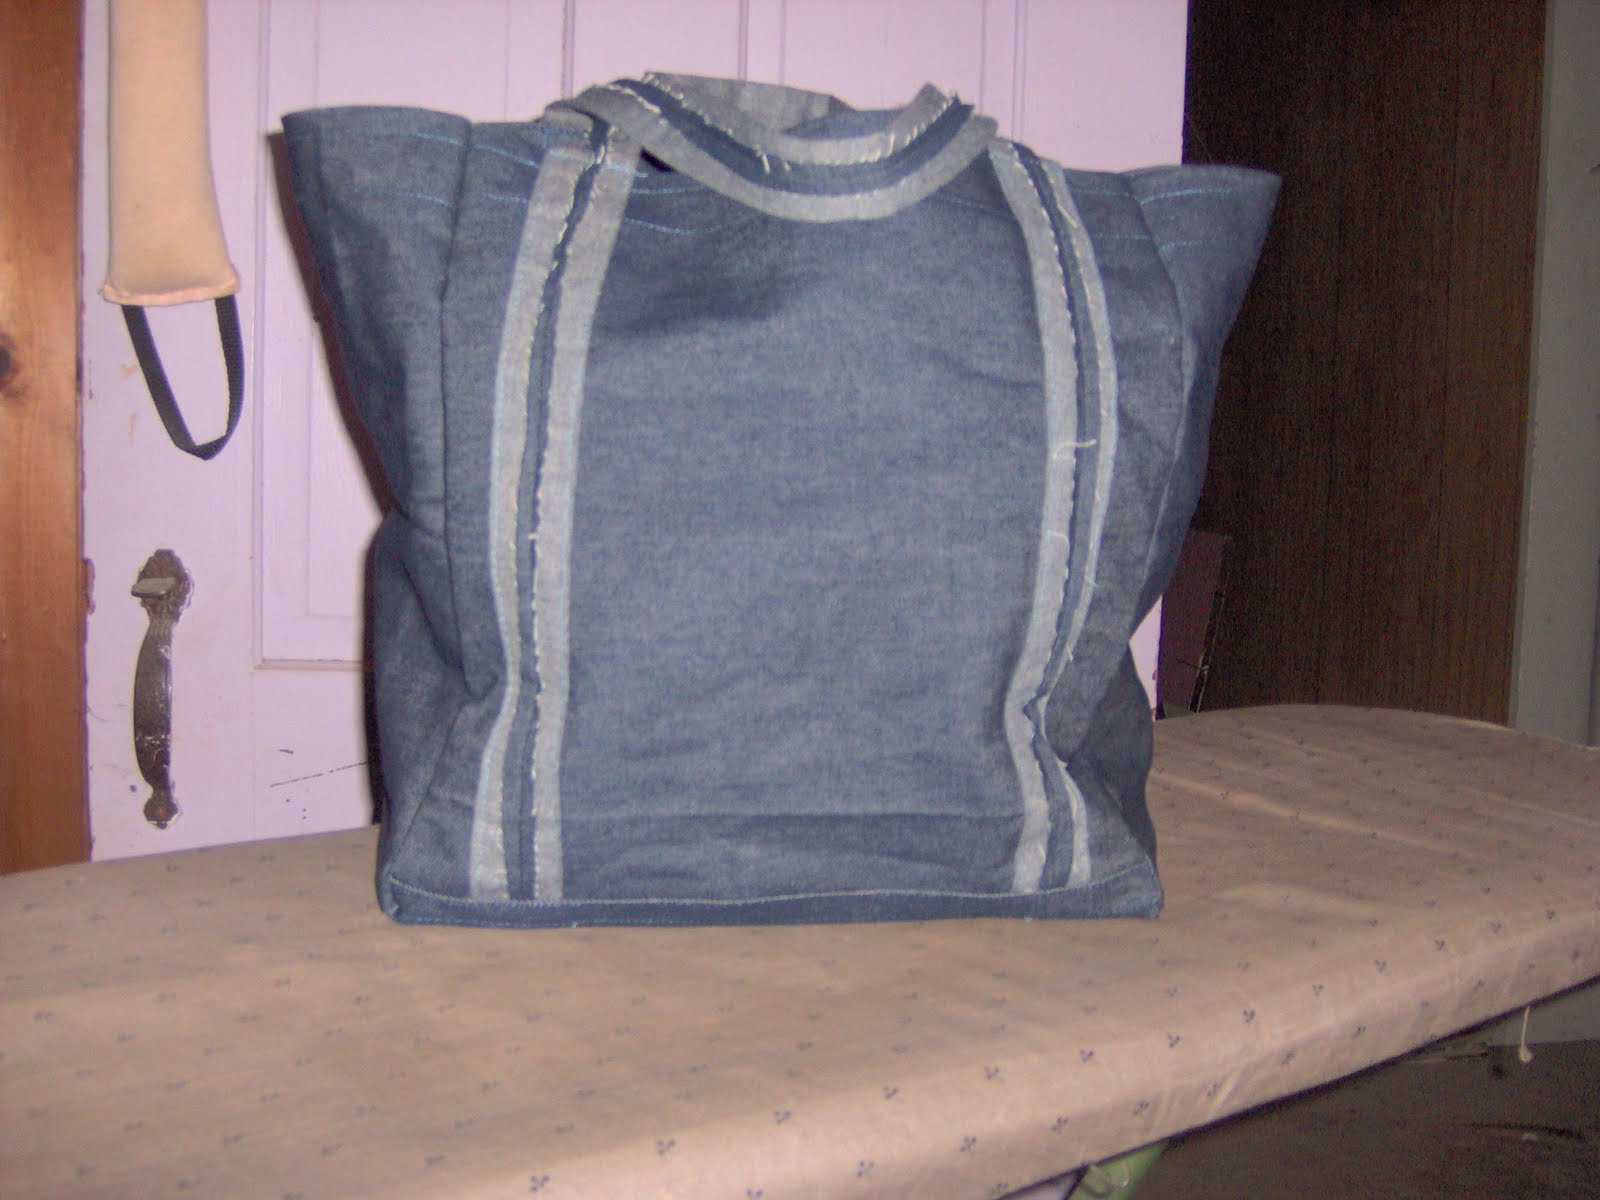
Okay, I got this really awesome shopping bag from 'WidgetWorm' aka - my sister - her blog is listed on my site(one that takes the place of a plastic shopping bag - you know - the new 'green' bags), AND...well, I love it. So I thought I would try making a 'shopping' bag myself. I actually used my neighbor's 'green' bag that she brought over hot peppers in - for a pattern. I had blue jean material left over from the quilt I made and gave it a try. When I went to make the handles and turn them right side out after sewing them I decided I liked the looks of the 'inside-out with pressed seam' better than right side out. I think if gives the bag character. I stuck cardboard in the bottom for reinforcement. My next try will be to make a bag like my sister gave me.


Blue Jean Quilt


I had a lot of old blue jeans and decided to use some of them to make my boyfriend a quilt to take with him in the truck (usually a semi with a huge cement pump or cement tanks on the back - they cement gas wells and sometimes are on site for 6 to like 24 hrs. if they have to wait for the well drillers to finish). I thought it would be cool to use the back of the waist band for some of the quilt.


Me and Raggedy Ann Quilt

I picked up this cute - looks like new raggedy ann at a flea market this summer and thought it would be cute to make a toddler blanket with Raggedy Ann having a blanket just like it that snaps on to the toddler blanket. I love how it turned out. :)


wood & fabric wallhanging

For the sake of finishing this project started awhile ago, I did not put the outer wood edging on it that I had originally planned. It still turned out pretty neat with the wood blocks on it though.

Saturday, May 22, 2010

Inspired creativeness!


Update: here is the point I am at now. Between Fencing, building birdhouses, sewing the blue jean quilt I'm workin' on, I haven't been able to get to far yet -
_____________________________
Beginning:
Okay, here is where I'm at so far on my inspired creativeness during my sew mama sew travels. AND I love that the idea was from my own head, I haven't ever seen anything like this yet. This will be a wall hanging when I am finished. I have to spend hours today putting up fence wire so unfortunately I won't get much time to work on it today...maybe tonight, or I can pray we get the rain we 'might' get, but then again, fence has to get up, so for now, here is what I have. I cut my blocks, drill them, stained them, got my fabric pieces done and slid threw the holes and wah-lah - here I am.


Tuesday, May 18, 2010

IH Quillow

Here is one of my latest quillows. I have made many over the years, some I have pics somewhere of and others not. I just made a John Deere one that I let escape without pics of. :( For those of you who don't know, a quillow is a quilt that folds up into a pillow. The pocket is on the back of the quilt that makes the pillow cover, usually blends right in with the fabric of the backing as you can see in the last pic.


Saturday, February 20, 2010

Christmas Moose Stocking(older project)

I decided to make a matching Christmas stocking for my son's wife when they got married. He had a moose stocking for years and I thought it would be cute to make a more 'girlie' type moose stocking to match. His is the one on the left. I found material and buttons to match close enough
and put it together.

Saturday, January 2, 2010

Iron On Quilt Hanging (older project)


Here is a project I made about 4 years ago. I co-worker at the college I worked at showed me how to do quilt hanging by just ironing on the material. I have to look to see what the stuff is that I used for ironing on the material but for now here is a picture of it. I also have been dabbling in quilt paper piecing and absolutely love it. I will have to post pics of what I have done so far with that and I will post my quilt blocks so far. I am making an 8 point star quilt. I also make quilows and

will post something on that soon too.

Monday, December 28, 2009

Kitchen curtains


Here are the kitchen curtains I made for the kitchen door. They match the curtains that I bought at discount for the kitchen sink window but it was the only set they had, that left me in a dilema, they were the color I needed for the kitchen (my boyfriends fav color), they were simple (something my boyfriend wouldn't mind), and the price was right...but what about the door window?...I'll make them and I added lace for privacy! The only thing I didn't have lurking in the house for resources already was the white bias. I have made other curtains in the house too and will post them here soon.


Here are the curtains I made for the stairway window. I made tiebacks for them but the porch is on the other side so we don't use the tiebacks.