Showing posts with label Wood Working. Show all posts

Friday, February 10, 2012

Elevated Dog Dishes


Okay, I got sick and tired of the dogs moving their dishes all around and under the spare chair, etc., SO!, for Christmas I made them an elevated dog dish stand. It took me an hour and a half by the time I drew out my design on my wood to the time I put on my first coat of polyurethane. I did by new dishes to go in it but I used wood that I had saved from an old farm house that was tore down. I countersunk my screws and used the wood rasp/file to make a little indent by the dish hole to make it easy to grab the dishes out of the holder to clean and fill them.

Thursday, June 16, 2011

Adorable Garden Signs

Okay, it seems like I am always doing work around the farm and home of 'stuff' that has to get done, well, Sunday I decided to work on a project just for me! :) I saw these cute little garden signs in a magazine, they only had 5 to go by of which 3 garden items I had in my garden so I used the shading ideas for those and let my imagination go for the others. Unfortunately I forgot to cut my board for my radish sign (which those aren't planted yet but still:) so, I have a pic of my little guy but he's waiting for his sign to go on. I love how they turned out....


Friday, April 22, 2011

Vintage wood Nail/bolt boxes turned shelving!

So, out in the wagon shed is a big pile of 'stuff' from when my boyfriend's parents sold there farm and bought a house in town. I hate having so much 'stuff' to organize and go through BUT I love the big pile of 'stuff' to be creative with. There are many of these vintage wood nail/bolt boxes so I thought I would make some shelving for the kitchen. AND the kitchen and I just spent 15 1/2 straight hours - yes, from 6 am - 10:36 pm(had to minus my chore time for the beef cows) in reformation. I had my first meal at about 10:50 pm - sat for 15 min. and went to bed til 5 am and started cleaning the kitchen back up. I wasn't able to strip the boards yet that are behind the shelving pictured here and that was why I explained some of my kitchen project - I will be posting pics soon of our kitchen. But back to the shelves...

Now, these were full of dust, dirt, old oats, old straw, nasty stuff. I used a paint scraper, a soft green dry scrub pad, a stiff paint brush, and the shop vac to clean these up. I carefully hammered in any nails or loosening dovetails. I also cleaned them all with liquid gold. I nailed them together with old, small nails from a time era when these would have been new(psss-the nails came out of the lathe boards that have been taken out of the house so far). I did use 3 screws to hang it on the wall, but I am so pleased with this. I have started putting on some of our 'older' items we have and I have one more I did to hang by the door for more items and keys and such. Now, once that wall is stripped and done natural it will all come together.


Tennant Trailer Renovation!

Okay, so, our tennants bought a home and moved out the end of January, 2011. I got busy right away. I wish I had gotten more before pics but this will have to do. At this point I am finishing up the hallway, the master bathroom closet, the master bedroom closet, and the small bedroom. Here is the progress so far, many many hours later...
Here we can enjoy the lovely trailer wallboard in the kitchen along with at least 3 different colors of paint on walls in the kitchen and dining area. YUCK! Also a lovely piece of hard, cloudy, non-see through plastic on one window for privacy, a rusty, sticker ladden fridge, drywall that needed patching, and a bay window in the dining area that needed the old drywall taken off, 2x4's replaced in the wall under the window and new drywall put up.


Now, I scraped, sanded, and spray painted the fridge an ivory, I used a tan(looks like dark coffee with cream) on the bottom walls in the kitchen and all the walls in the dining area, a creamy ivory on the top in the kitchen and around the bay window in the dining area, and a purple/burgandy paint for the trim boards(which were given to me a year ago and I wasn't sure what I was going to do with them!). I bought ONE curtain(it contained 2 panels and a valance), and I made my curtains to fit the windows in the kitchen and dining area --- I really was going for a homey/coffee house feel. I had to sand and paint the fan vent sheild over the stove as once upon a time I think it was just stainless steel but it was mostly rust color when I saw it. I also replaced the hard nasty plastic atop the window with my good standby---limosine window cover(about $12 at an auto parts store and I have enough to do at least 4 or more lower windows in the trailer for privacy) As you can see in the second pic down - you can see the dog fence and everything outside, but you can't see in -in the day and at night anyone outside can only see shadowy type images when lights are on inside.


I also added an oak board under the window shelf as there a sad piece of thin damaged board under before I tore off all the wall under the window and replaced inside framing under the window. I also put new wood base inside the middle window for the inside sill(as I did for the living room and need to for the kitchen and bedrooms-not done yet) and I only had to paint the other two inside sill parts for a clean crisp look.


So, here is a small look at the hallway(which does not show the parts that had holes to be redrywalled) and the lovely bathroom with that lovely trailer wallboard, a curtain that didn't fit or cordinate, and a shower curtain that was of a different pattern altogether. The medicine cabinet was rusty, so I sanded and painted that too! I still have to hang the towel bar and split and sew the window curtain - again, I bought ONE curtain that had 2 panels and a valance - I used the valance for over the shower curtain and am making my curtain to fit the window. I tried to cordinate my color scheme with something that would compliment the floor tiles.


Okay, the hallway - from the end by the bathroom and washer/dryer area it is the tan from the dining room/kitchen - the hall to the bedrooms is the creamy ivory from the kitchen. I had to replace some of the corner molding and almost all of the bottom floorboard molding(which I made myself by cutting thin pieces of wood to width and length to compliment the best I could with what was there) Oops - I still have to clean the light covers and put them back on but I am still working on the floor in the hallway. I also made a really cool coat rack as there is not really a place to put coats.


Okay, now.........the master bedroom and master bath - okay - wow, there is that lovely tailer wallboard again in both rooms and an access panel of just plain greenboard! After Accessing the rooms I decided that the floors were really the only thing I couldn't change - sooooo, I planned the color schemes around those! Don't you love that peach counter in the bathroom too?!? NOT!
As you can see - I chose a foamy type sea green, a fancy boarder, and green sheer curtains for the master bedroom(I still have things on the floor since I am currently working in the closets for both rooms).


Now, for the master bath ---- I had black/white marble floor tiles I needed to cordinate around - soooooo, I painted the peach counter black, all the outlet covers, soap dish, etc. black, the handles, hinges, and edging on the cabinets black to make them pop!, again I bought ONE curtain that had 2 panels and a valance and used the valance to go over the other new shower curtain I bought, I used more of the molding to go around the room as I painted the walls all white but then sponged black on the lower half to pull it all together.


This is turning out so great. The old tennants have had to come get jugs of water still to date and LOVE what I have done. I still have to tar some of the roof, tar over the bay window, finish the floor in the hall, finish the two closets in the master bed/bath, and change the front door - whew! I will be glad when this project is done, But it is well worth all the time I have in it and with being creative and using what I have for much of it and buying on-sale curtains and making them to fit(much cheaper than buying curtains made for the trailer windows and shower valances) I ended up spending about $200 on paint, curtains, boarder and such.- we are hoping to have it rented for May!


Wednesday, October 6, 2010

Fun Kids Rack


Okay, I absolutely love this fun kid's hat/coat rack. I actually took the idea of the circles from one of my scrapbooking idea pages. :) Did I mention that I love it!!!! lol


Steampunk Stuff

Thought I would try a bit of Steampunk Stuff, I had some items laying around that looked like they would fit the bill, and wah-lah! I made a decorative book and redid an old wood item hanger 'tree'.


Wood Chimes

I had a bunch of dowels laying around and have been finding crafts to do with them. I made one set of John Deere wood chimes and 2 sets of IH wood chimes. One of the IH sets we will have on our porch, I have to finish putting our strings on ours.


wood & fabric wallhanging

For the sake of finishing this project started awhile ago, I did not put the outer wood edging on it that I had originally planned. It still turned out pretty neat with the wood blocks on it though.

Sunday, October 3, 2010

Barnboard Rack


I found this great piece of barnboard that I thought had great ends on it - and it inspired me to take a few of the ceramic insulators and original fence nails to make this great coat/hat rack. I had found the old hindges in the grainery that we don't use anymore and thought that they would go with the rustic theme of the rack.

Monday, July 26, 2010

Tractor Scene Items

Okay, My boyfriend refurbishes 1/16th scale toy tractors and has never had scenery to use behind his tractors when he takes his pics for ebay or his toy tractor site...soooo, I started painting this pic(by the way-it is my first painted pic). I still have shadows to do and a bit of farm machinery to add and I will glue real dirt onto the field so it will blend with the bottom board I add that will have real dirt glued on.

Okay, this is the next item I am making him, a 1/16th scale workshop, I put lights in the roof and am making cool items for it that will make it seem like a real workshop. I have made everything except the 5 small tools(hammer, wrench, etc.) The lubricant spray bottle still needs the label. On this wall you can see the snap on tool box I carved out of wood, the workbench that I put a peg board back on by drilling each little hole in the thin wood for it, the paper 'gasket' scaled to the tractors.
I this pic you can see the welder(which has welding stick too made partly with hook earings), air compressor(made with empty 35mm film case, moveable eyes, rubber pencil grip, and much more), butane torch, napa box, radio, socket set(the sockets are necklace hooks - that have the threads for the other part to screw into :) and another workbench. I have more items to make and add and I will be adding what will look like internal and external 120 v. and 220 v. outlets. I will post more pics when totally finished and he'll probably have a tractor in front of them. :)


Rustic Barnboard Creations


I started working with some of the century old barnboards we have laying around. :) So far I have made two of the flower pot benches and one end table.


Monday, May 31, 2010

General Store Birdhouse

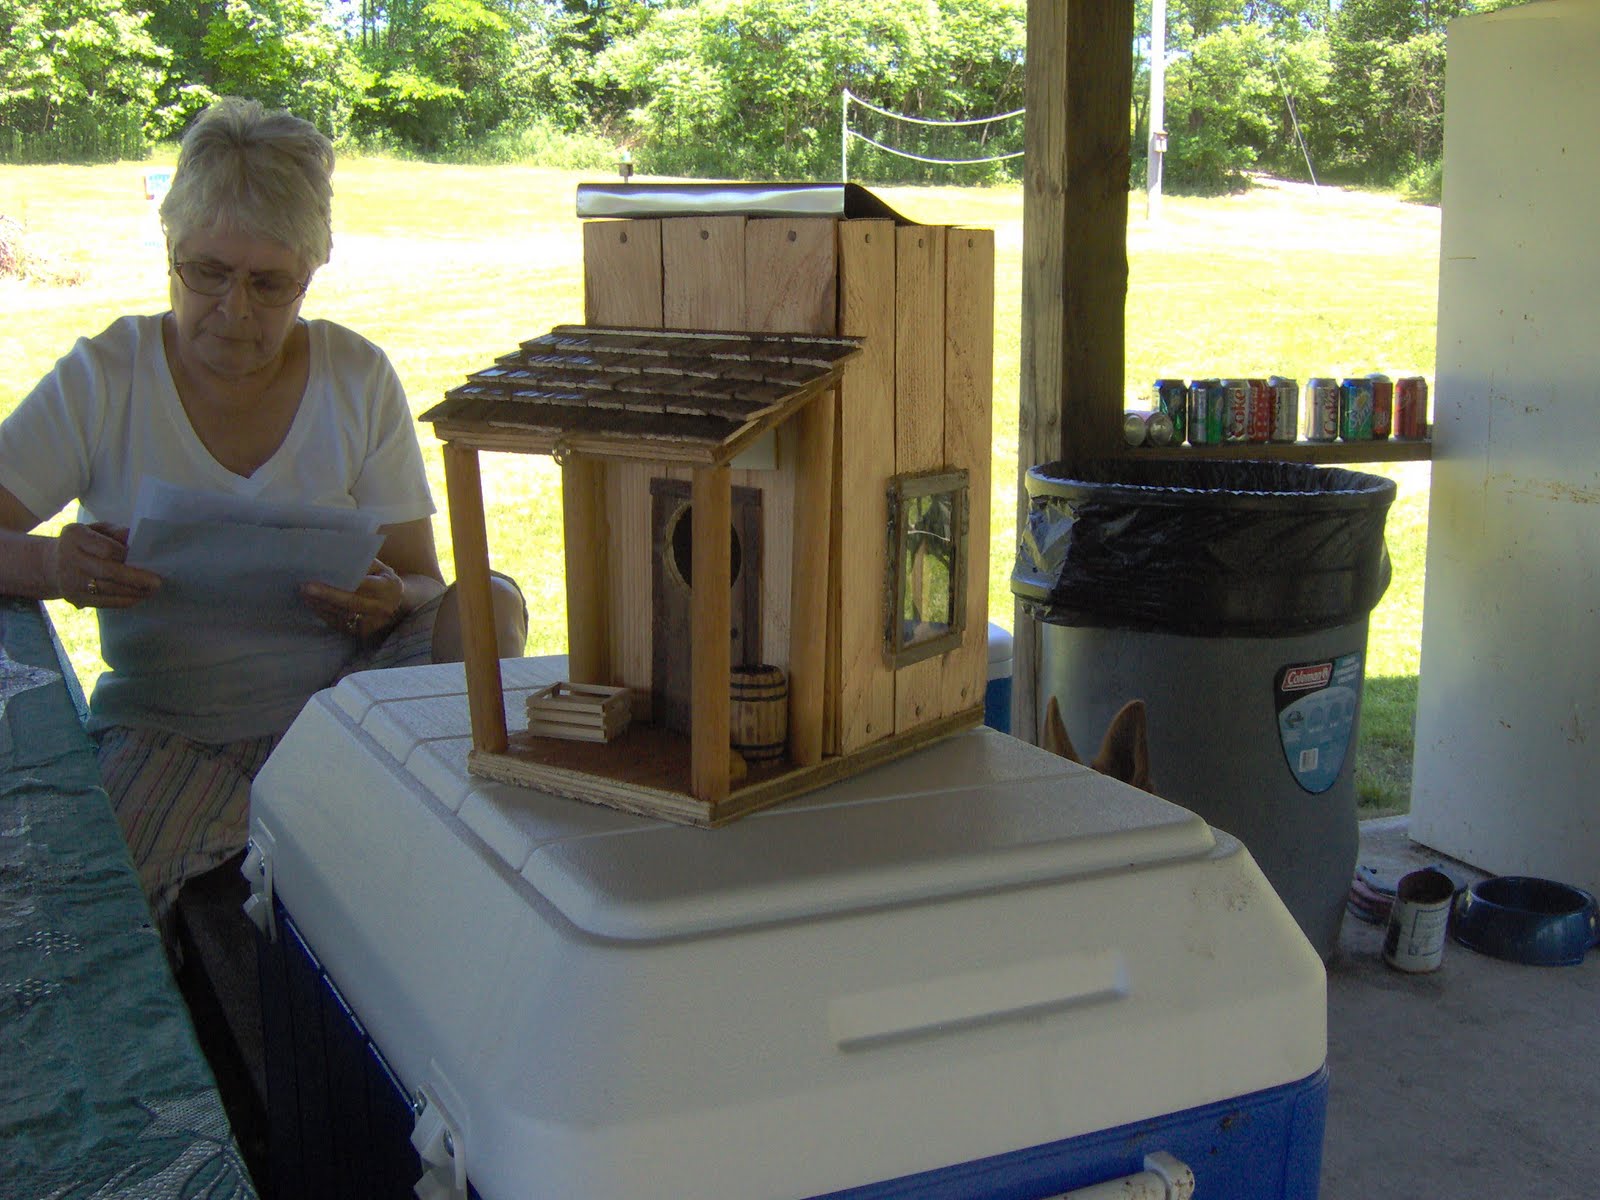
My latest birdhouse is a General Store. I cut the side slats out of a scrap 2 x 4, cut all the little roof tiles from the same, added a curtained window on one side, a store sign on the other side, a barrel I painted on the front porch, a crate, and a dog. It turned out pretty cute - I made it for my boyfriend's sister and gave it to her yesterday.


Saturday, May 22, 2010

Inspired creativeness!


Update: here is the point I am at now. Between Fencing, building birdhouses, sewing the blue jean quilt I'm workin' on, I haven't been able to get to far yet -
_____________________________
Beginning:
Okay, here is where I'm at so far on my inspired creativeness during my sew mama sew travels. AND I love that the idea was from my own head, I haven't ever seen anything like this yet. This will be a wall hanging when I am finished. I have to spend hours today putting up fence wire so unfortunately I won't get much time to work on it today...maybe tonight, or I can pray we get the rain we 'might' get, but then again, fence has to get up, so for now, here is what I have. I cut my blocks, drill them, stained them, got my fabric pieces done and slid threw the holes and wah-lah - here I am.


Monday, May 17, 2010

Barn Bird House

Here is one of my latest bird houses. This is a "2" resident bird house barn. I put a seperater in the inside so that both houses are seperate.